


Yesterday marked the two year anniversary of my Mums passing, I thought it would be great to spend some time with the kids. When I found this paper recycling kit at the thrift store ($3.50) I knew it was a perfect activity for us. Buy your own kit here. Or read further for instructions on how to make your own.
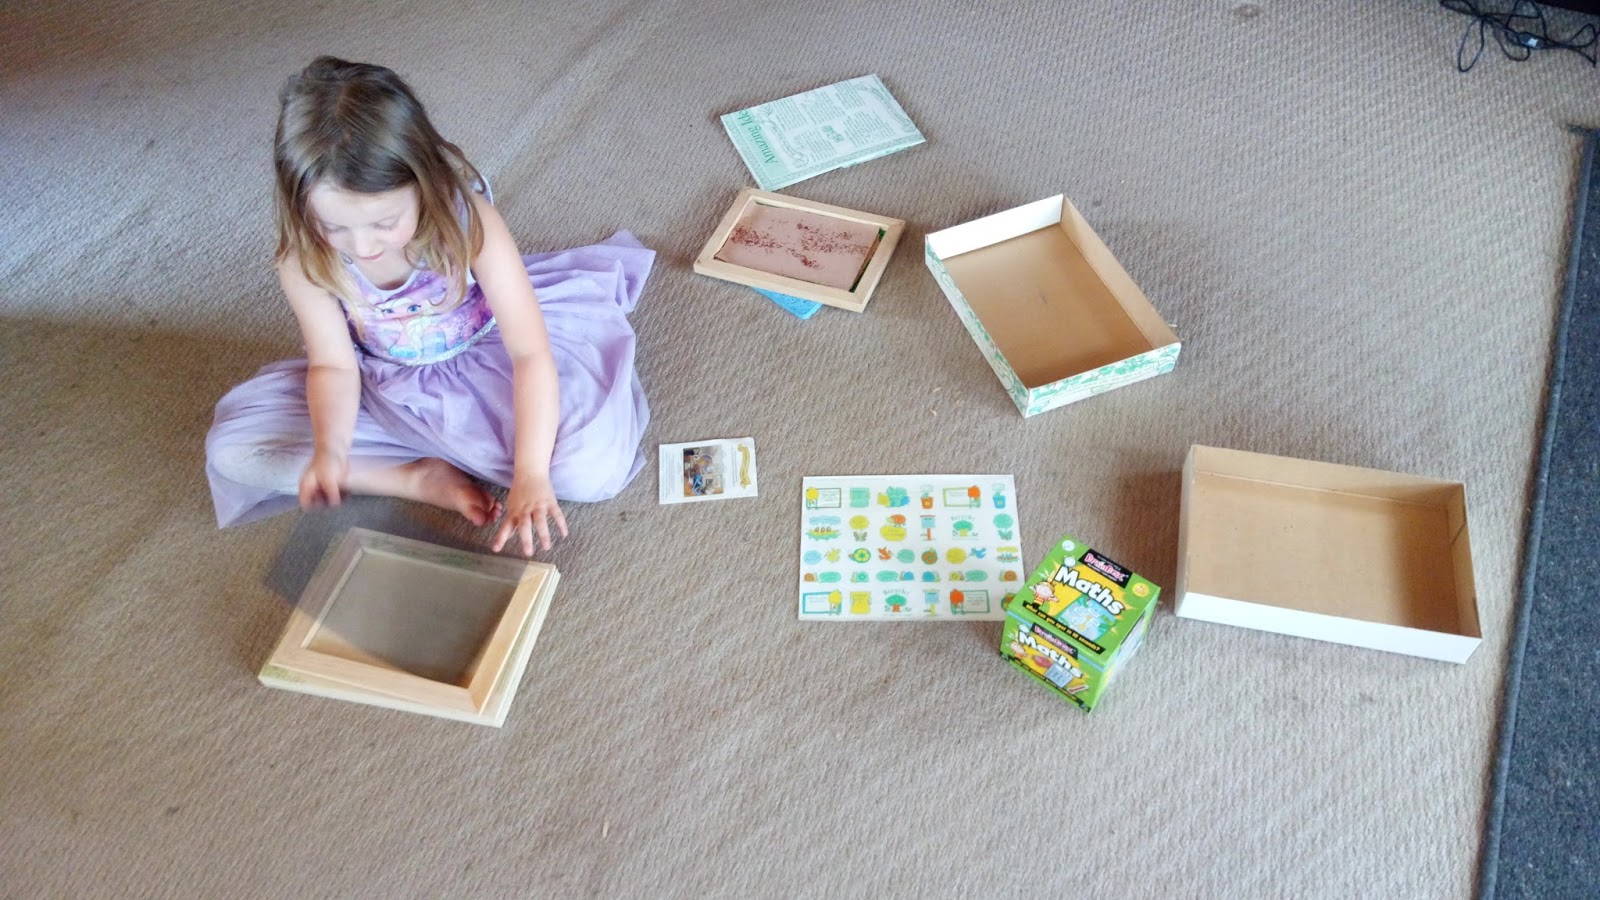
Shavannah absolutely loves doing crafts and was excited to get started straight away. I barely had time to get the groceries away.
We found a bucket and started ripping up some old newspaper.

You probably only need one or two newspapers to start with or about 4 handfuls when wet. This will make enough paper to fill the eight drying boards the kit came with. The kids wanted to fill the bucket and were ripping up paper for about two hours. We ended up with so much pulp that we will be making more paper today or finding another use for it. Any suggestions are welcome.

Once you have ripped up all your paper, you need to cover it with hot water and leave it to soak for at least 15 minutes. If you have used glossy paper you will need to leave it longer. You want to make sure it will be soft enough to blend or mix to a smooth paste.

You can use a food processor, blender or a hand mixer to mix the pulp with water until you get a smooth consistency. Do a handful of pulp at a time and just keep adding water until there are no lumps.

You now want to add the pulp to a larger tub. The tub needs to be big enough to fit your papermakers sandwich or mould. If you don't want to buy your own kit you can make your own paper mould here.

Add enough water to cover the paper paste mixture by about 10 cm. You will find a consistency that works for you once you have made your first piece of paper. If you have to little water your paper will be thick, to much and it will be too thin. We found the best time to add the flowers and other additions to your paper is once you have pulled the mould through the water. See step 4 above which shows you the correct way to insert the mould. Then just place them on top and let the water drain.

Step 5 above shows how to flip the paper onto the drying board. We were too busy creating to get photos of this step.
We let the paper dry overnight. Our pieces turned out more like card than paper. Which is fine as the plan while we were making them was to turn them into valentines cards.

Once I folded it, Shavannah had other ideas. Her first piece of card has become the cover of a diary.

I cut 10 pieces of A4 paper in half and folded in the center to make the pages then used some yarn to sew it onto the card.

I will keep you updated on what the remaining pieces become.
No comments:
Post a Comment